
Reno Recap: Flooring
When we purchased this home, a good portion of it had cream colored click-lock flooring. It was not very good quality and the super light color showed every. single. thing. that landed on it. We lived with for about 18 months and were so, so, happy when the day finally came to tear it out! That day came about six months after we opened up the wall between the living room and dining room and about two months after we installed new cabinets in our kitchen.
I’ve always loved the look of wide plank wood flooring and have dreamt of installing some version of it in a home someday (the dream would be real hardwood, but we’re on a budget here, people). Within the engineered/laminate flooring options, there are SO many to choose from, ranging from semi-affordable to completely out of our budget. After much searching, we went with AquaGuard Waterproof Laminate in the color Euclid Run because it was within our budget ($3.99/sq ft) and achieves the wide-plank look we’re going for. It’s super durable and the waterproof-ness was an added bonus for us. I also really love that it’s low-gloss and has some texture and a micro-bevel on the edges to look super realistic. And, it’s DIY friendly!
Here’s Gladys modeling on one of the two pallets of it that we brought home:

We’d be adding this new flooring to the majority of the house: the entry, living room, dining room, kitchen, laundry room, hallways, and—since it’s 100% waterproof—the bathrooms as well. The bedrooms would remain carpeted.
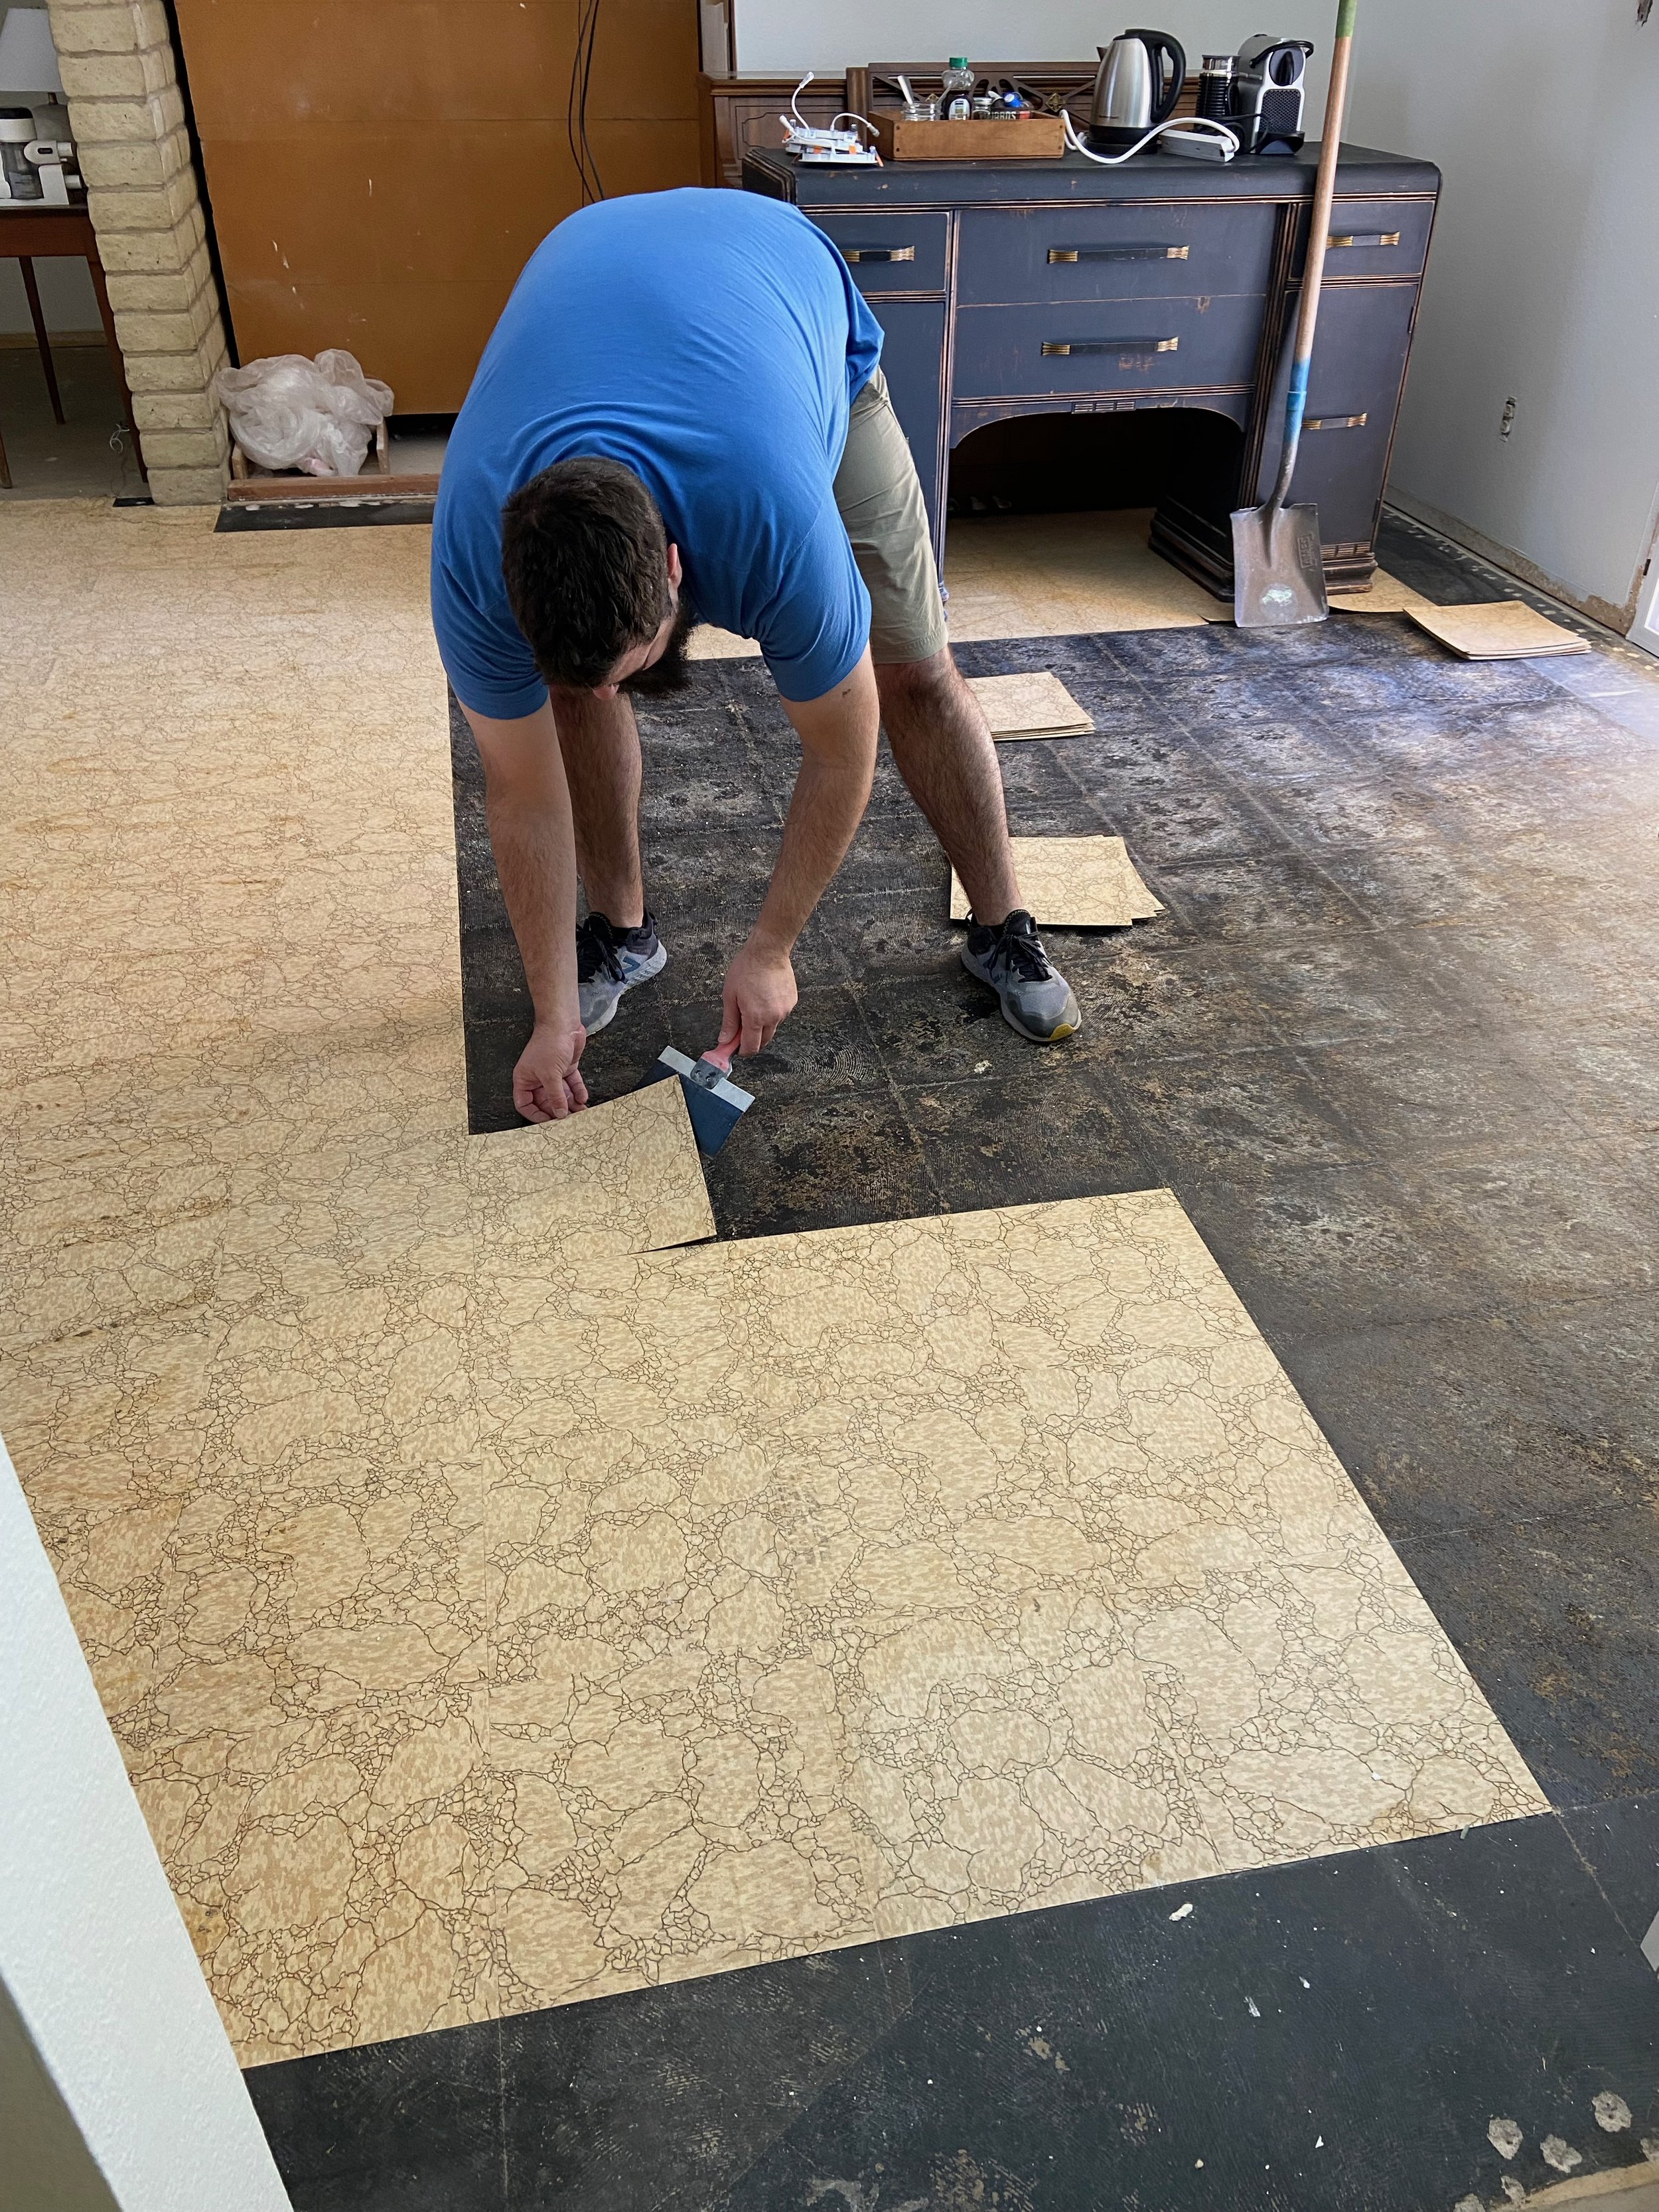
We started off by moving as much furniture as possible out of the rooms into the garage (pretty much everything except my piano, Gladys’ crate and a piece of furniture we were using as a coffee bar). The flooring had already been removed from the kitchen and laundry room when we demoed that area so we just needed to remove it from the dining room and entry. Thankfully, because it just clicked together, it was quite easy to remove (just really heavy)!

Once we pulled up the flooring in the dining room, we discovered another layer of flooring—old asphalt tiles that we think may have been original to the house. Our initial plan was to leave them in place, and put our new flooring over the top. However, they began to pop up and move around easily so we pulled them up as well (and looking back, they likely had asbestos…so don’t remove this type of tile without testing for that first. This is a case of do as we say, not as we do 🫣)

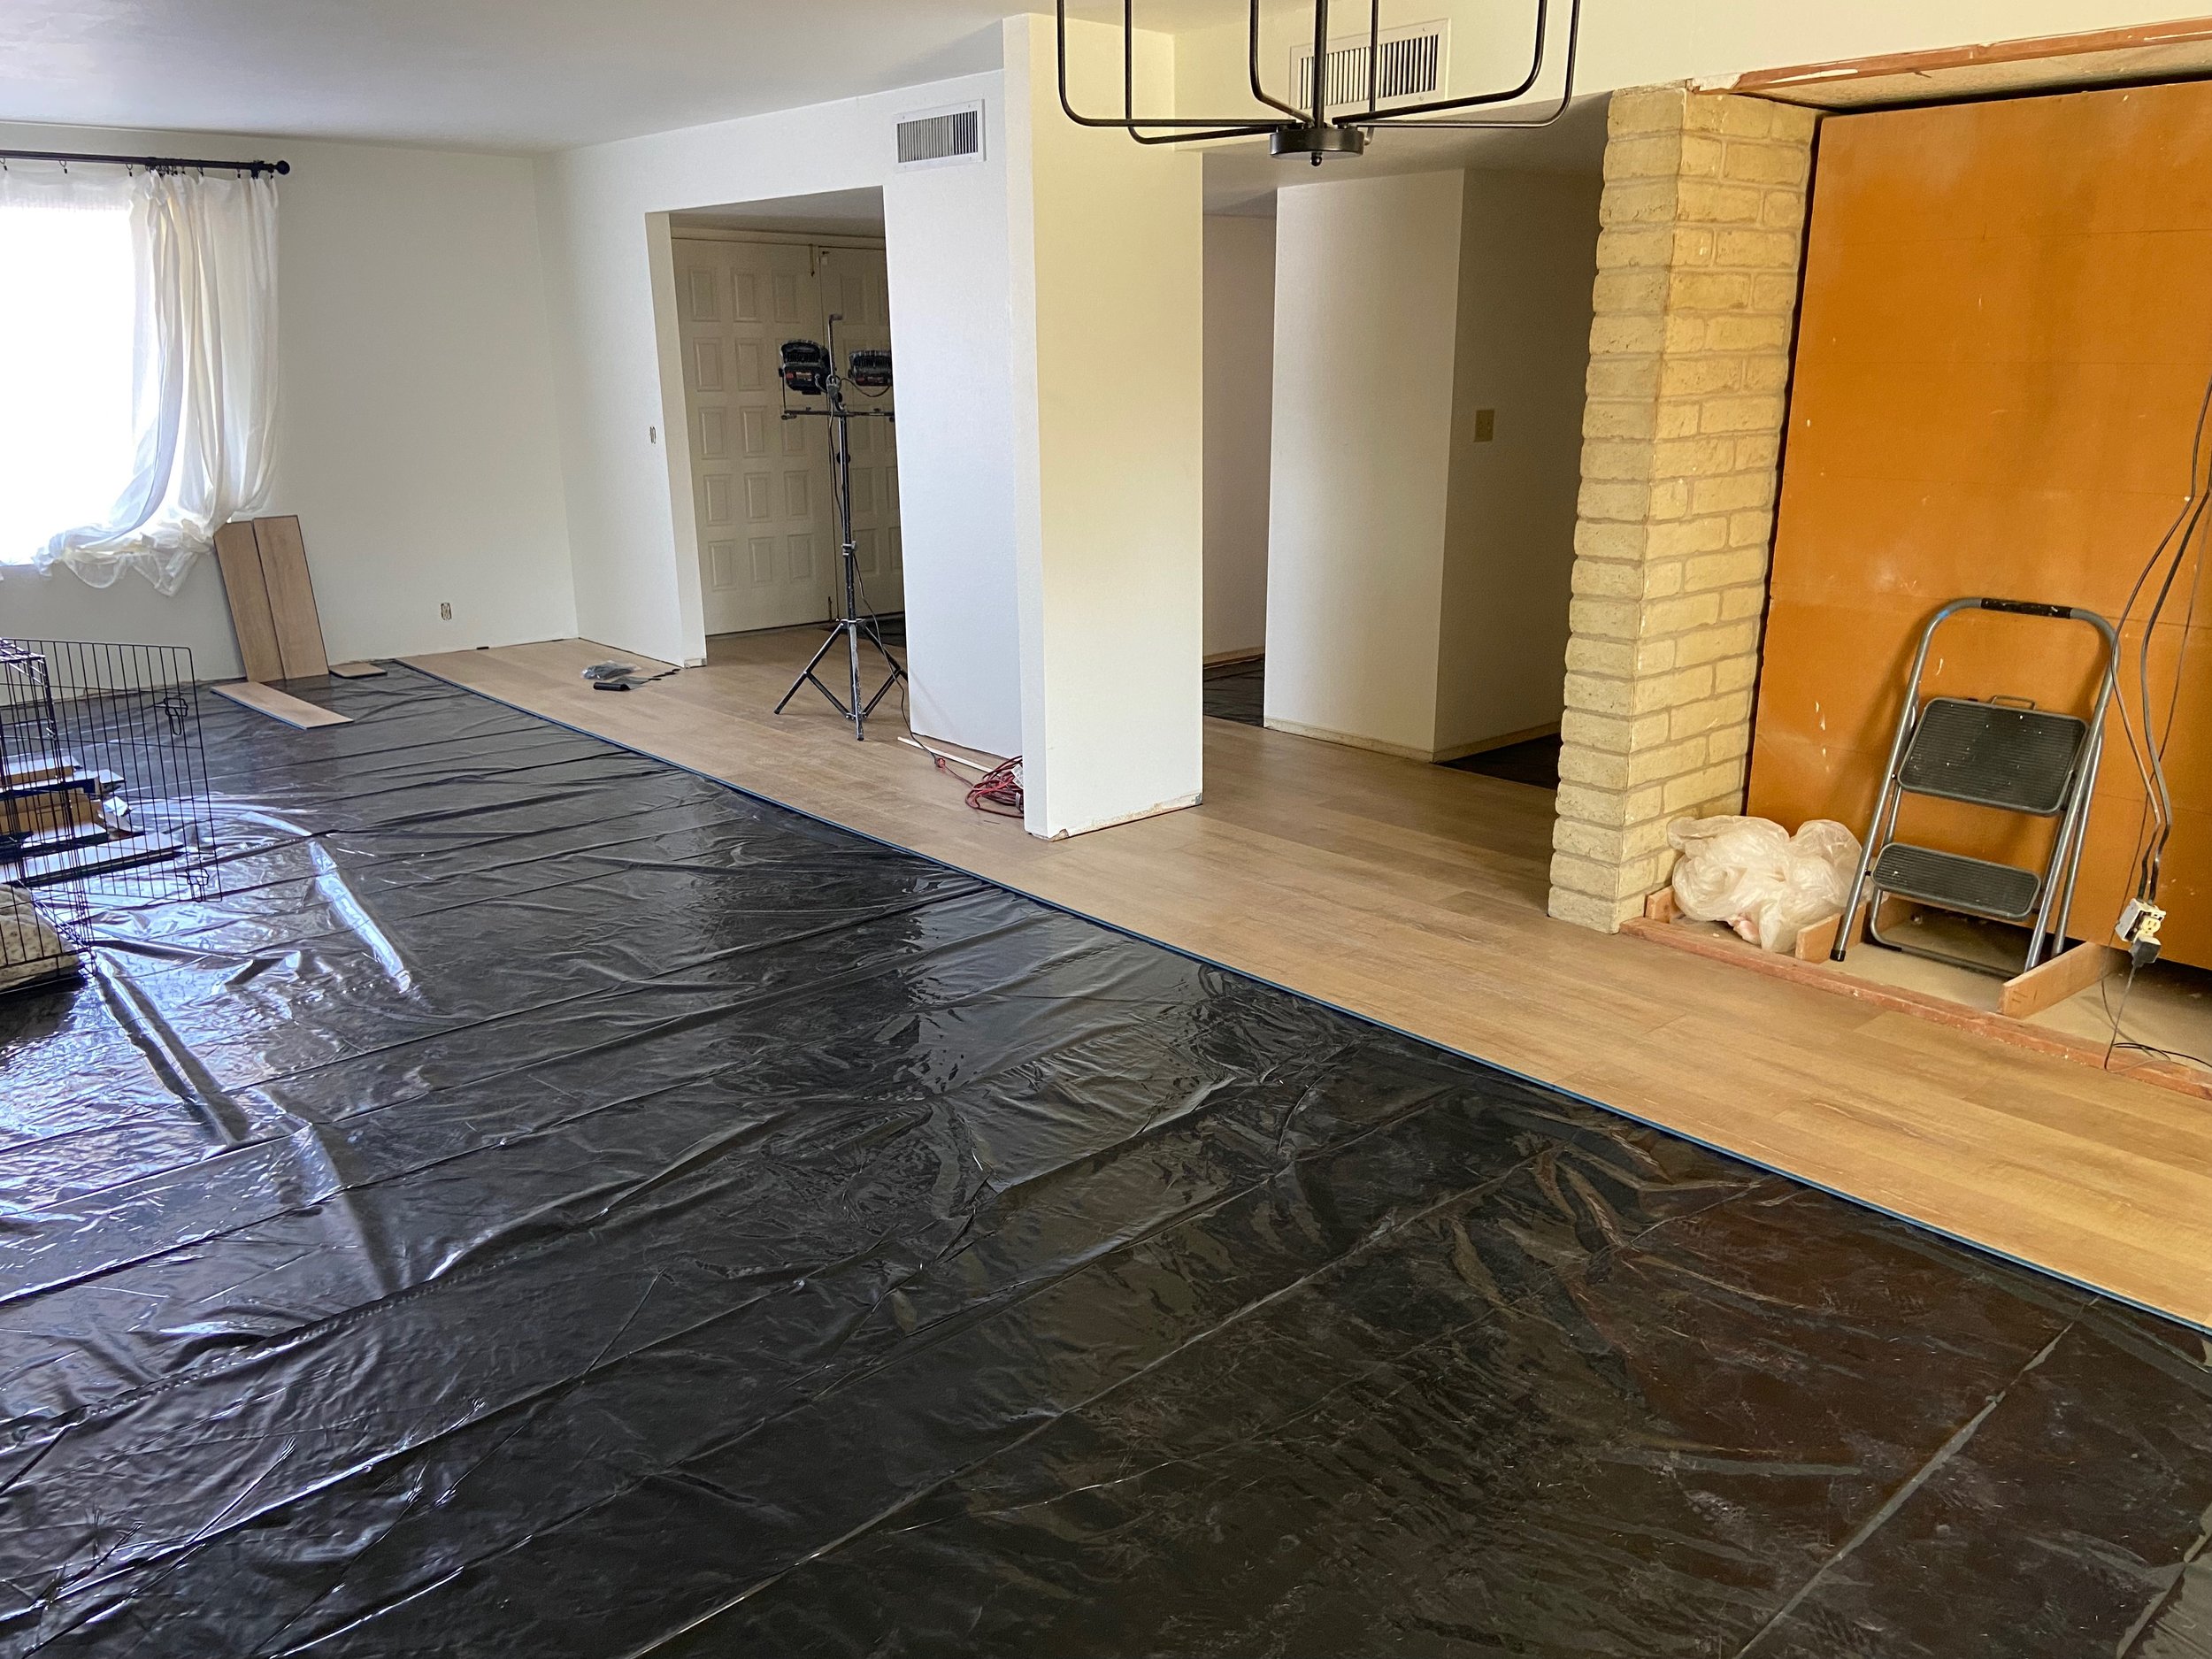
Once we got allll of that old flooring removed and the space cleaned up, it was time to prep for our new flooring! The new flooring has an attached pad underlayment, but since we were installing over concrete (including newer concrete we poured in the living room) we also needed to lay down a vapor barrier. It’s essentially a giant sheet of thick plastic that keeps moisture in the concrete from damaging your flooring or vapors from entering your home (this is the one we used).

Next, we had to choose which direction to lay the flooring. The most common way is parallel to the longest wall in your home. Another way to run it is from your main entrance outwards, into your home. This is how we chose to lay it as it felt most natural to us. We started in the living room/dining room as it’s the largest area and we wanted to ensure we had everything square (or as square as flooring in a house built in the 60s can be).
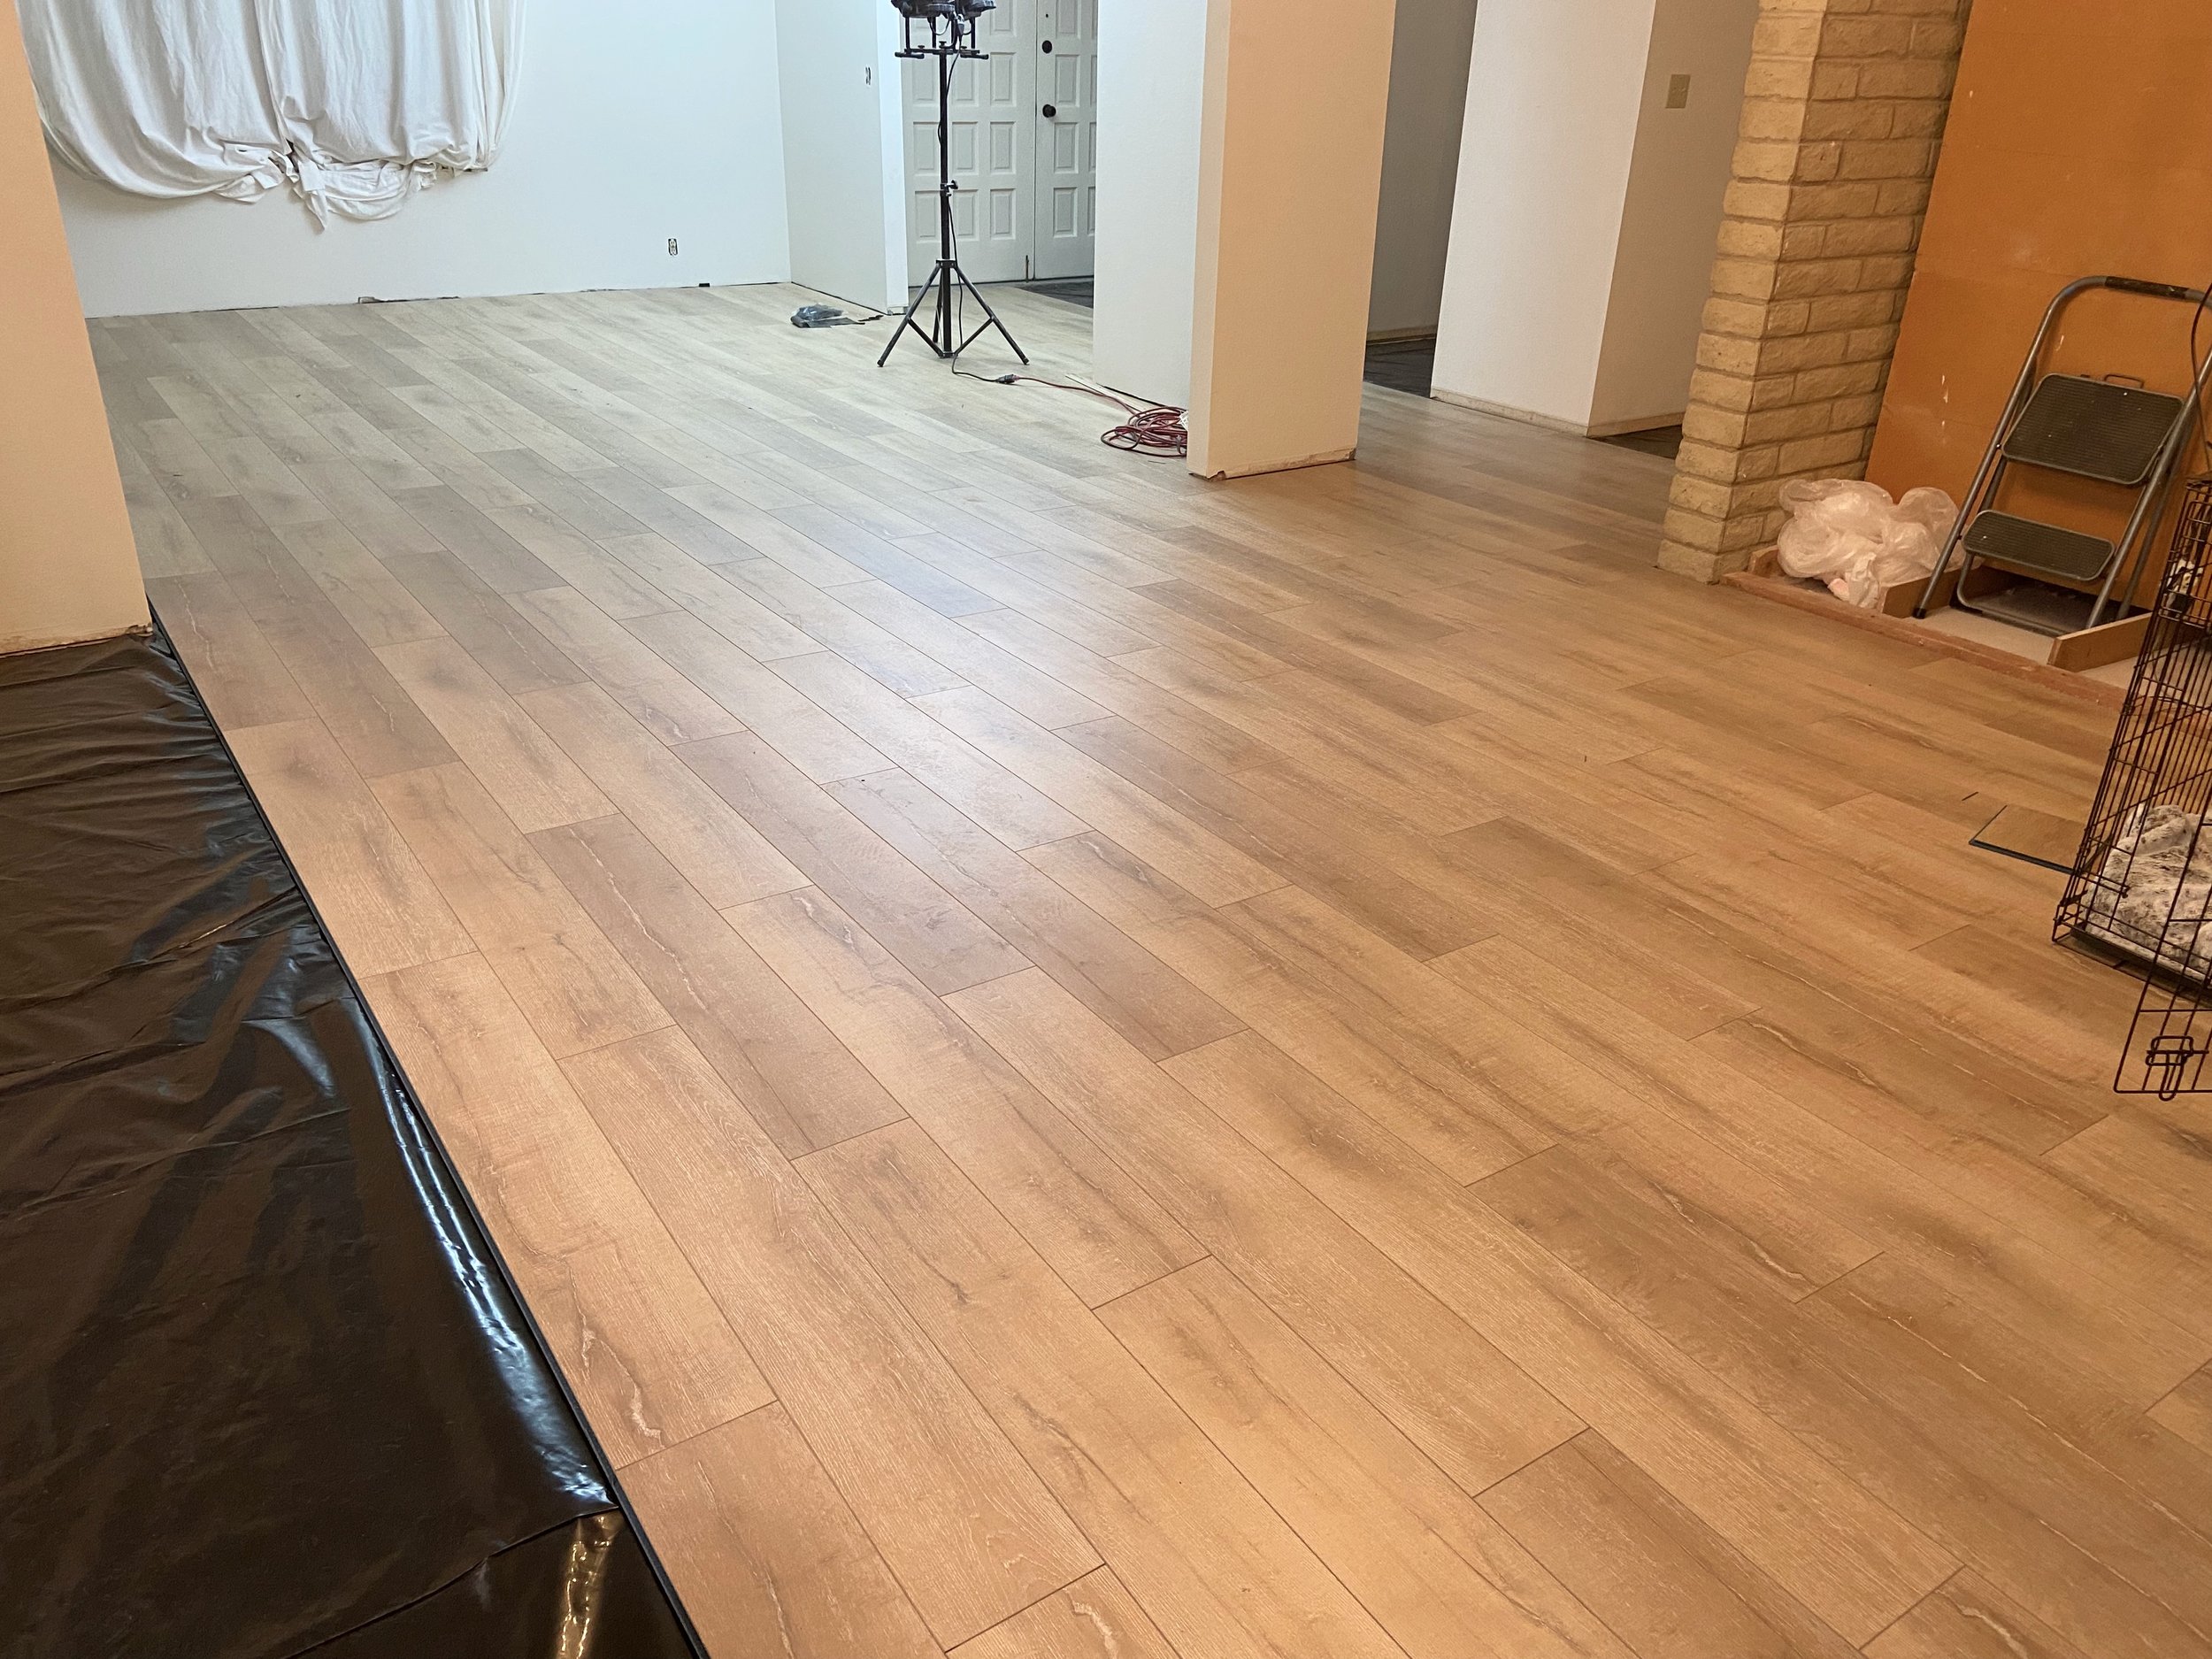
Here you see the texture and tone of the new flooring really well—swoon! 😍

The installation is fairly simple, but because it locks together on all sides, it takes a bit of finesse. Josh (whether he liked it or not) got really good at installing, while I was the runner, grabbing more pieces as needed and just providing moral support.
The hallways were the most time consuming with a ton of cuts around doors and corners. This is another project in which I was very glad that Josh has a mind for math and fractions, because…I do not 😬. Here’s a video of him tapping in one of the more complexly cut pieces in our hallway closet:
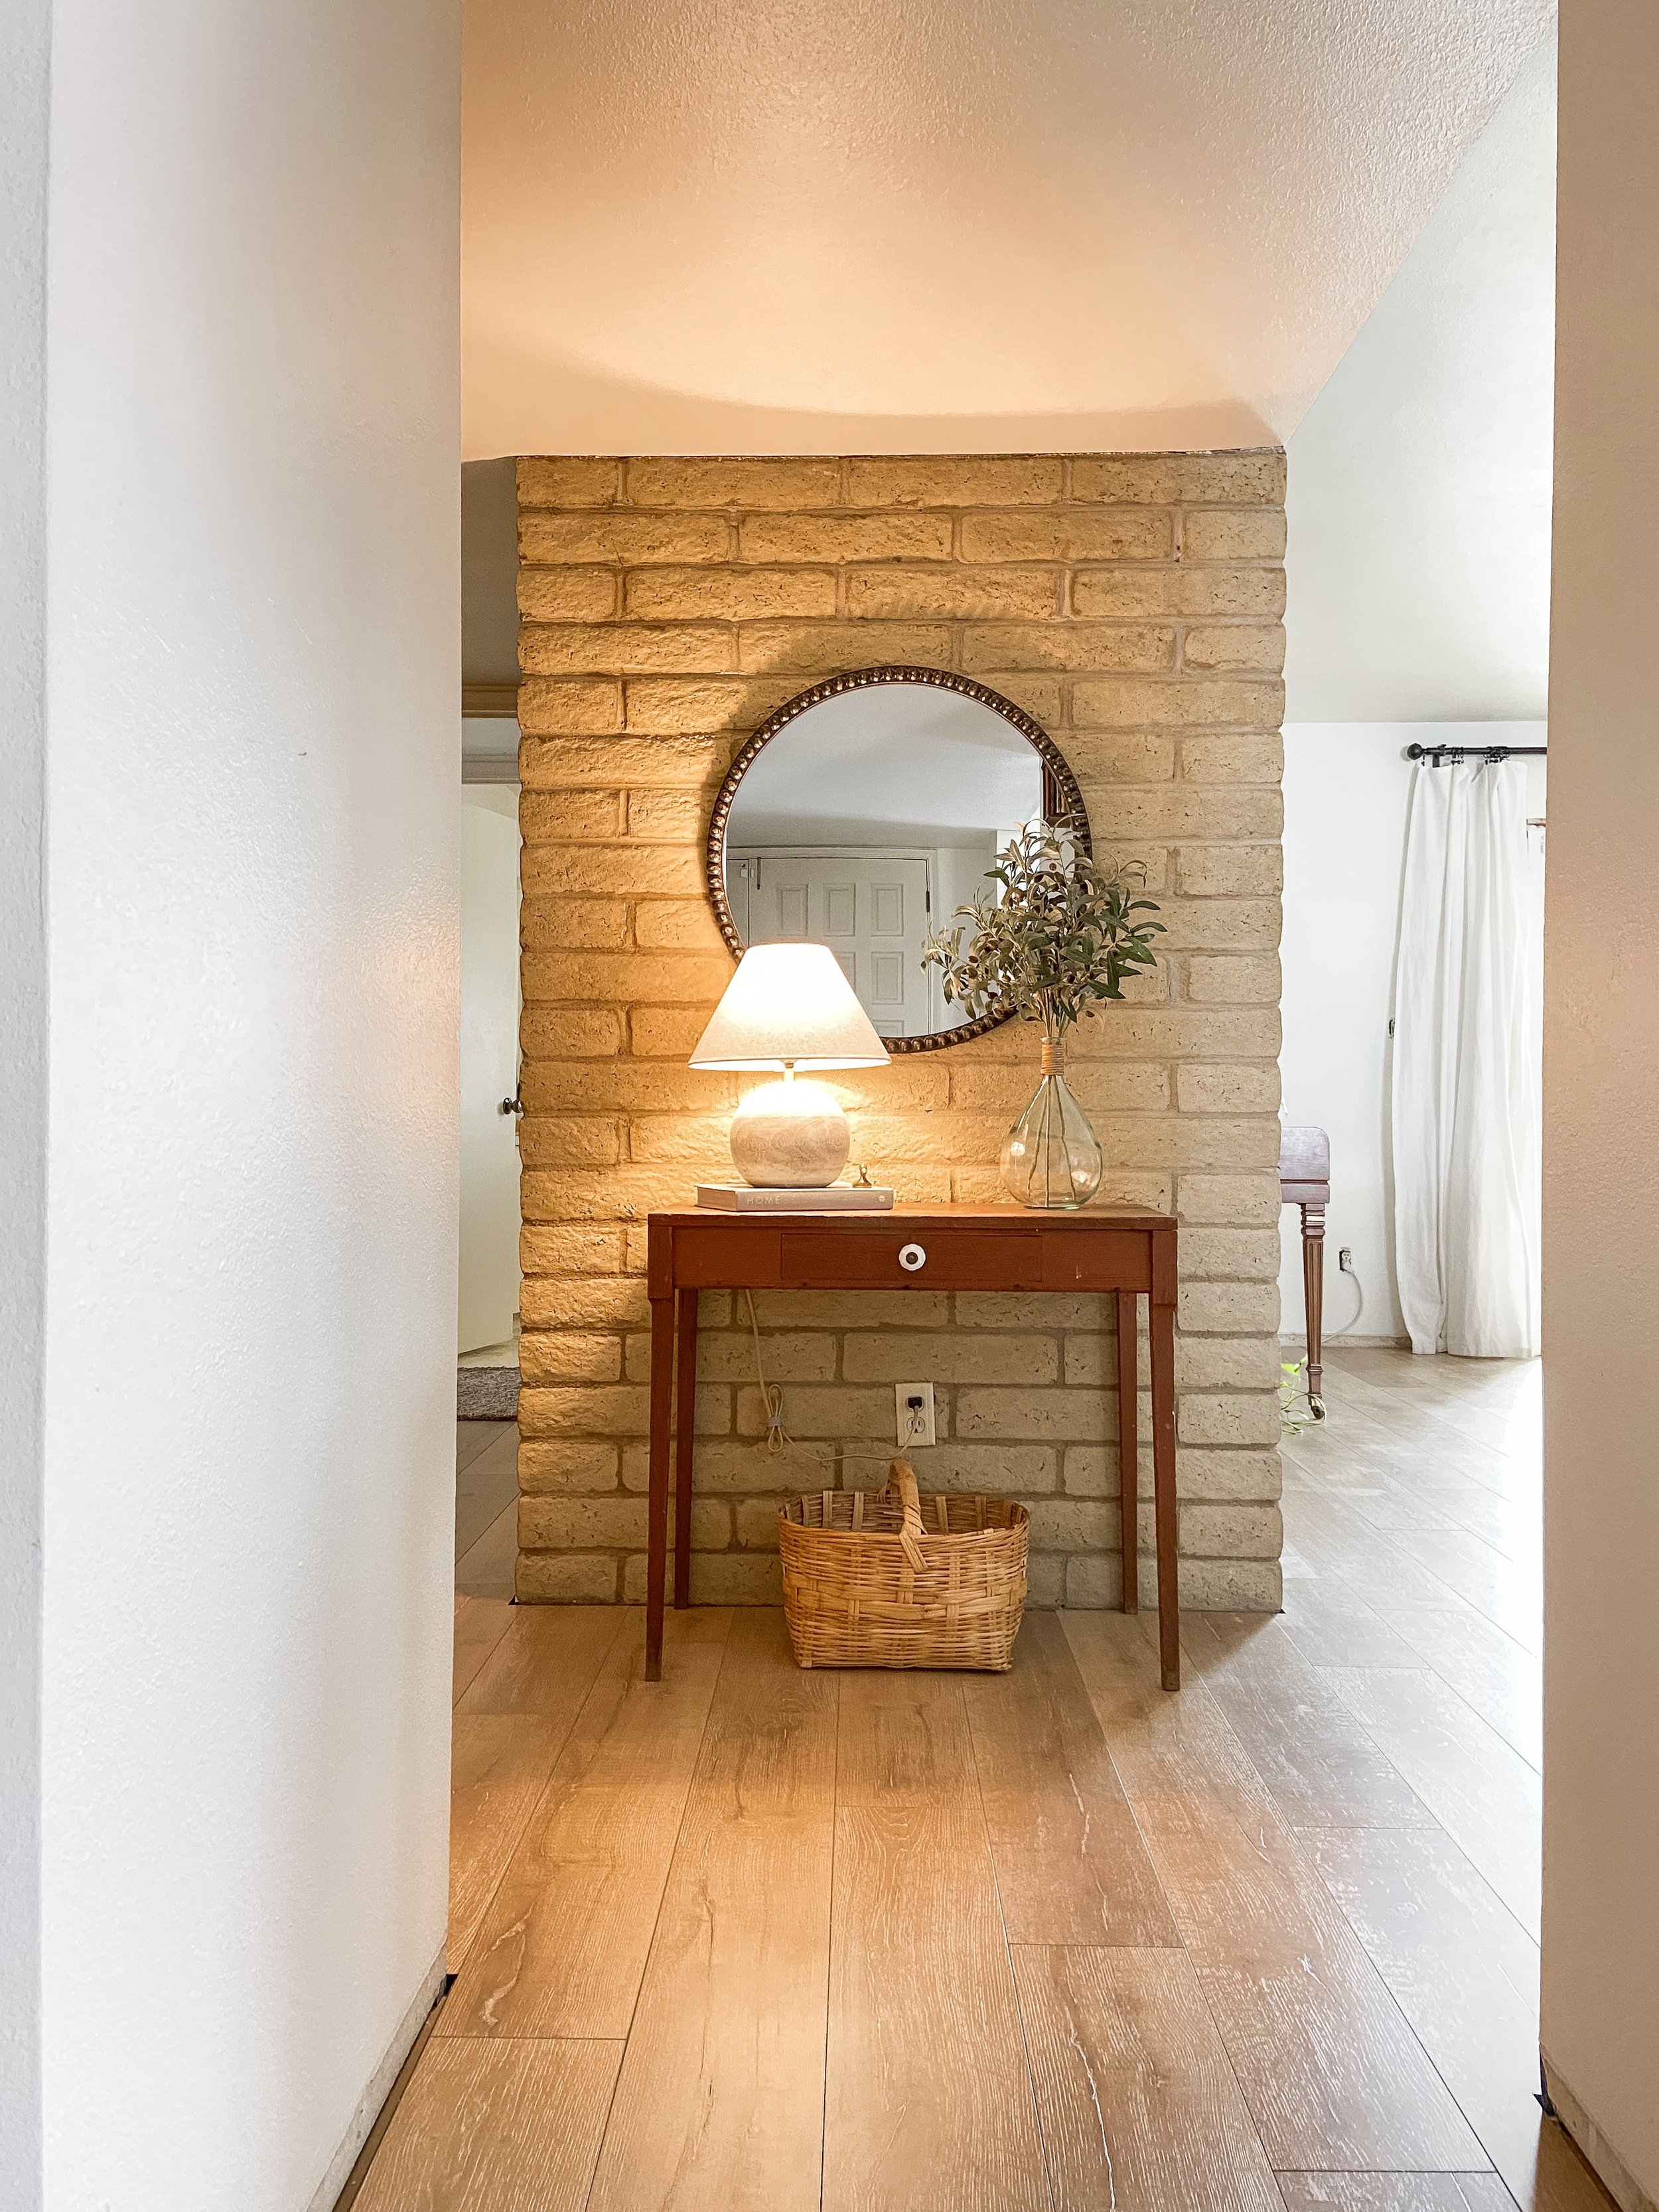
Going into this project we knew it would take us about a full week of working after our day-jobs for a few hours each evening. We kept plugging along each evening and we were able to hit our goal! Moving the furniture back in and seeing our vision finally coming together was such a cool feeling. Here you can see how opening up that wall in the living room, filling in the step-down, and now having the same flooring running throughout really starts to make sense. Gladys just couldn’t help striking a pose 🥰


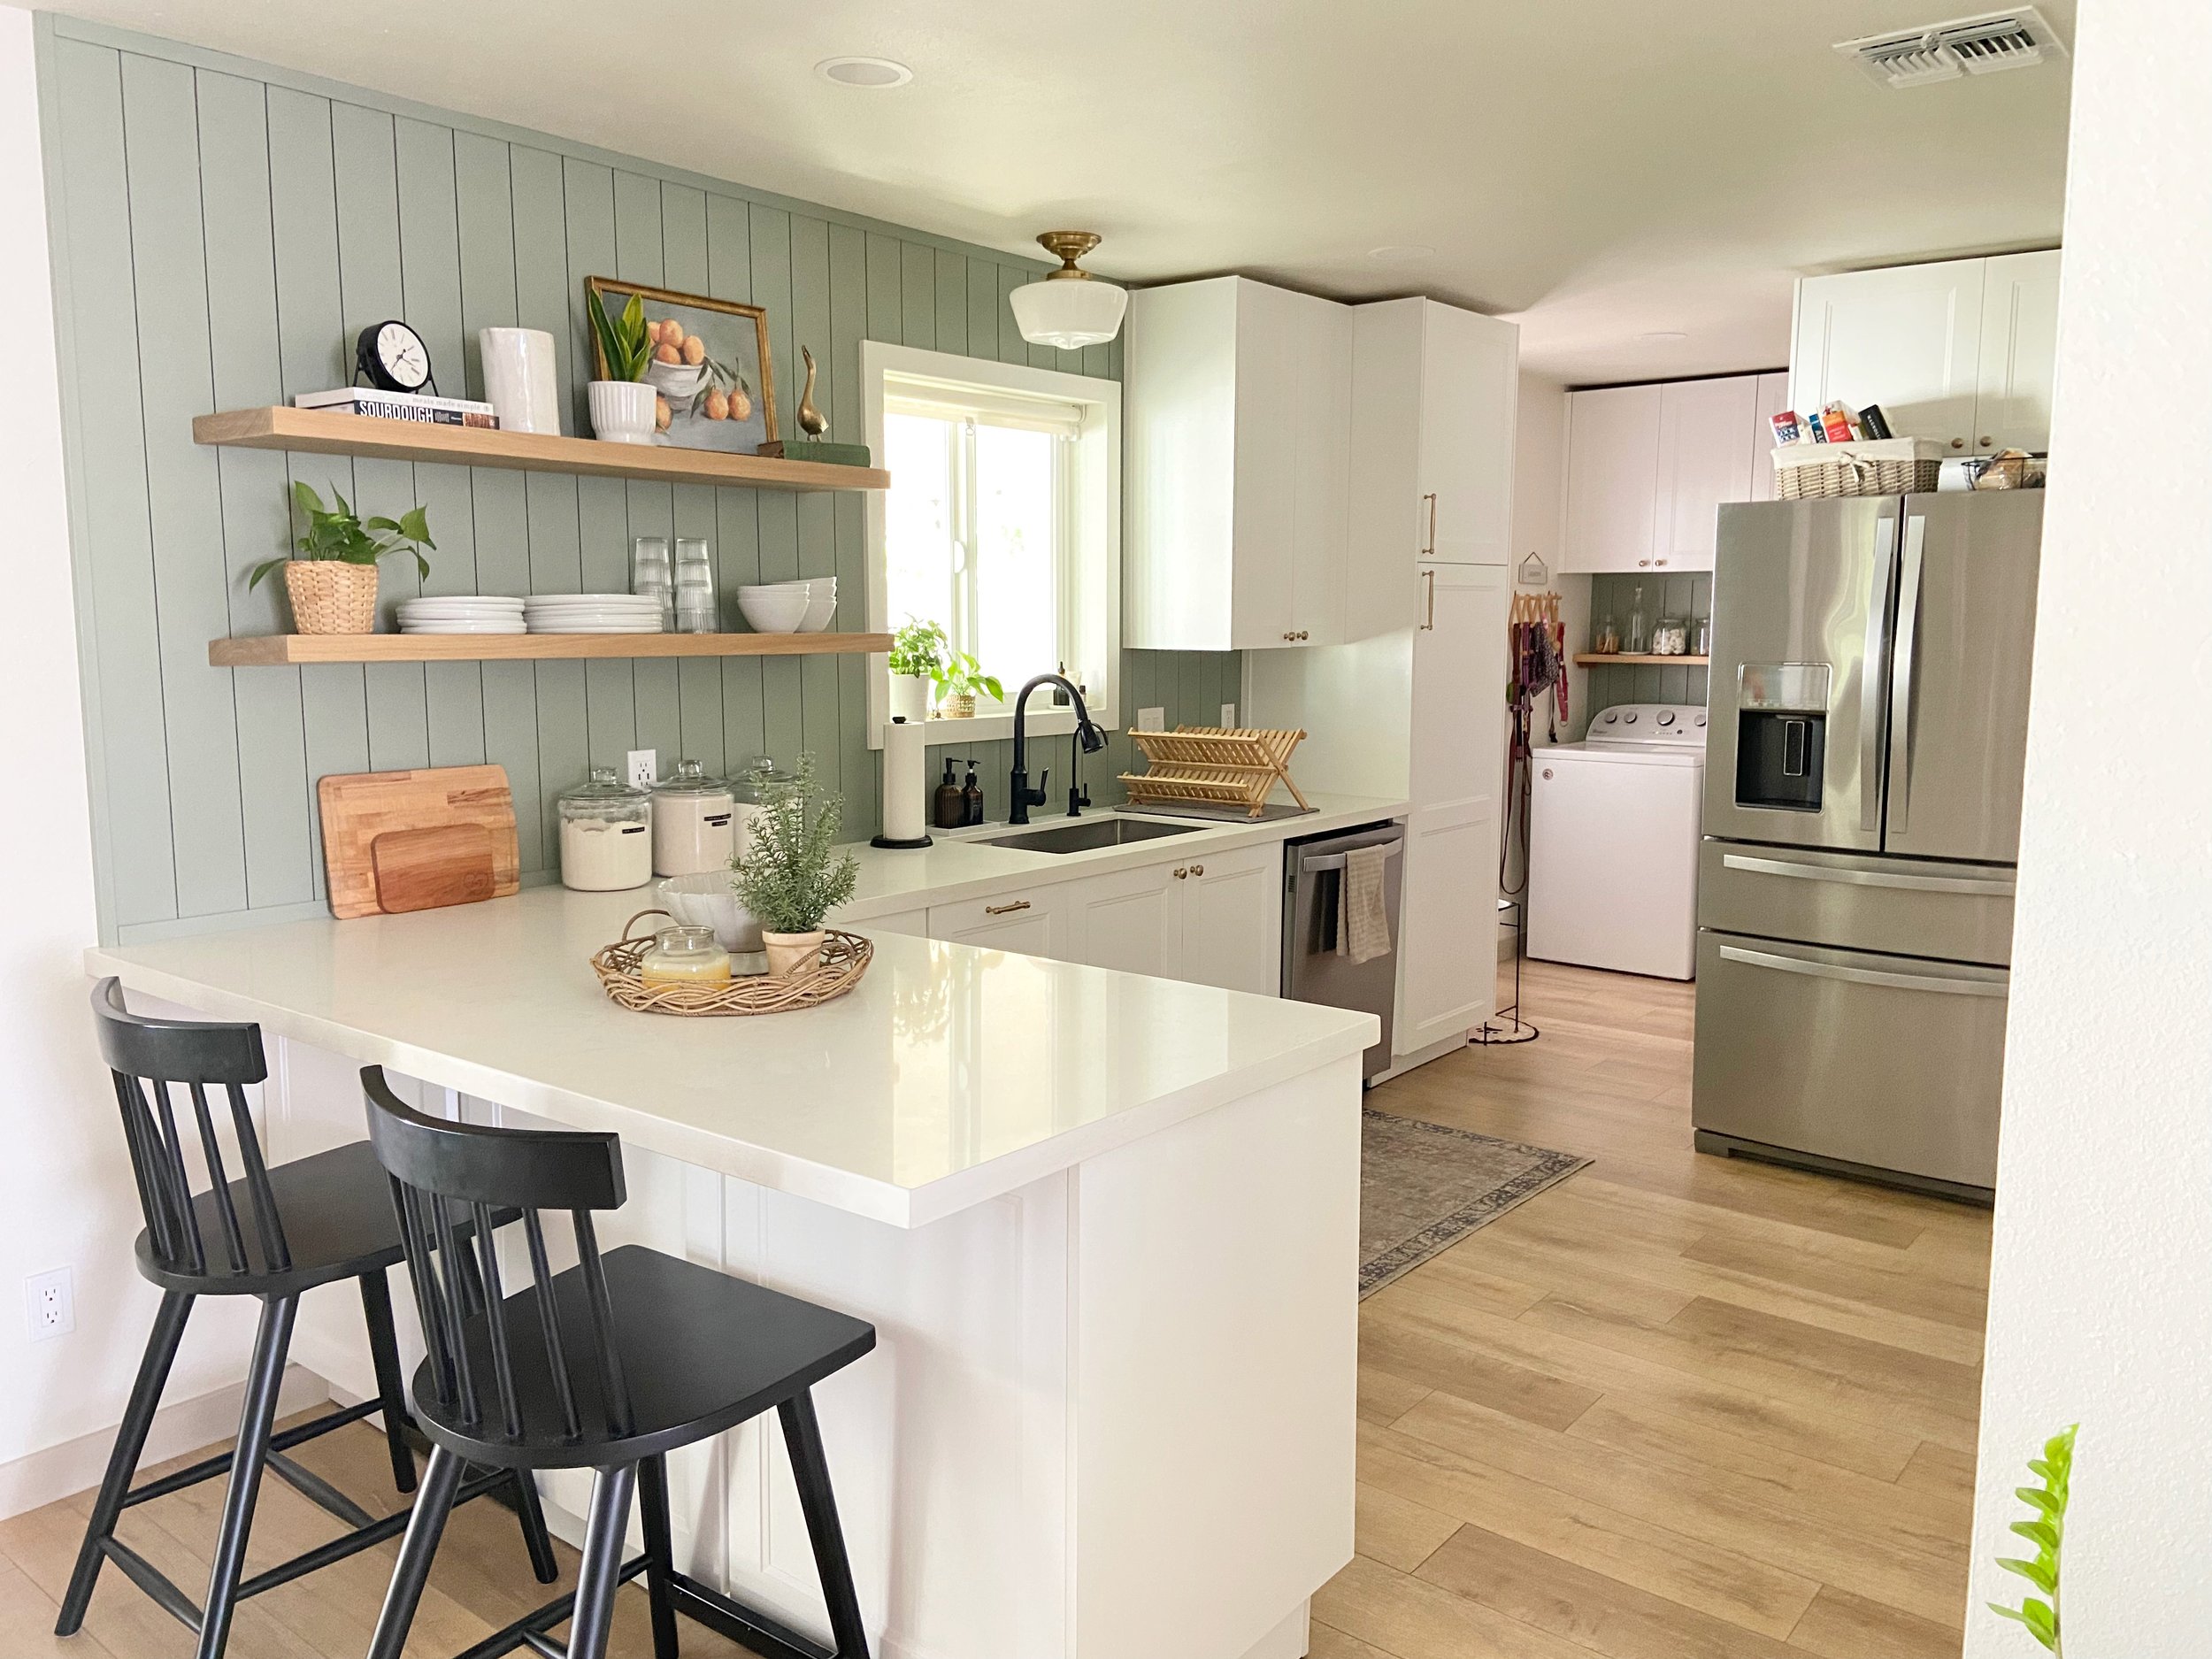
I especially love how this flooring looks in our completed kitchen with the white cabinets, quartz countertops, and white oak open shelves!

We’ve since added new baseboards and door trim in most of the rooms and I’ll share more about that later!
I really do think that this project has made one of the the biggest visual impacts to the interior of our home. I love the warmth it brings to the space while still being fairly neutral. It’s super easy to care for and (for better or worse) doesn’t show every single speck between cleanings. We are so pleased with our choice of this flooring option!
Next up in the Reno Recap series we’ll take a look at the laundry room (which is, surprisingly, one of my favorite spots in our house). Thanks for following along!

Missed previous posts in the Reno Recap series? Check them all out here!